
The Walrus tent company is no longer in business; however, many of their tents remain in use. The company manufactured high-quality tents for serious outdoor use. Many of the shelters were designed for three-season use, and a few were designed for four-season camping. The tents can be erected by a single person without any special equipment. Replacement poles are not available for the tents, and users should employ caution when bending the poles into place.
Items you will need
Tent body
Stakes
2 poles
Fly
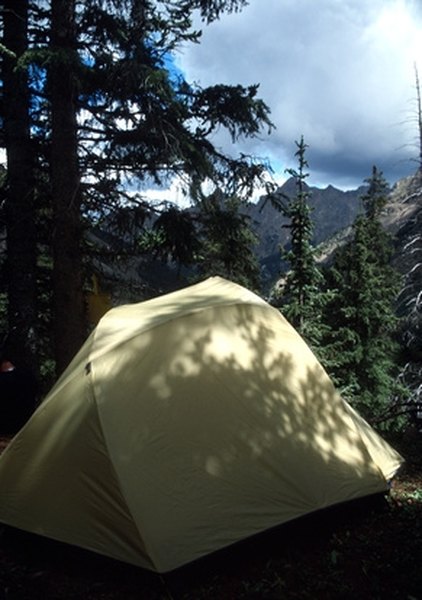
Select a flat camping site. Clear the ground by removing sticks, rocks and protruding objects. Remove the tent from the storage bag.
Place the tent body on the ground. Rotate the tent until the door is facing the desired direction. Pound stakes through the ground loops to secure the tent. Pull the floor tight as you pound the stakes.
Connect the individual segments on the two tent poles. Slide each pole through one of the diagonal sleeves. Connect the ends of each pole in the corresponding grommet. This will erect the tent body
Drape the rain fly over the tent body. Rotate the fly until the doors align. Some of the models have a vestibule that will align with the door. Connect the corners of the fly to the ends of the tent poles.
Pull the front corners of the vestibule away from the tent until the material is tight. Pound stakes through the ground loops to secure the vestibule.
Warnings
- Avoid setup during periods of high wind. The loose tent material can act like a parachute and blow away.
Tips
- Erect the tent on a level sight to maximize comfort. Use natural cover to block wind and moisture from the tent.
References
Tips
- Erect the tent on a level sight to maximize comfort. Use natural cover to block wind and moisture from the tent.
Warnings
- Avoid setup during periods of high wind. The loose tent material can act like a parachute and blow away.
Writer Bio
Zach Lazzari is a freelance outdoor writer specializing in hunting, fly fishing and the general outdoors. He guided fly fishing trips for 10 years in Colorado, Alaska, Montana and Patagonia-Chile. Zach lives in Montana and splits time between the river and keyboard.