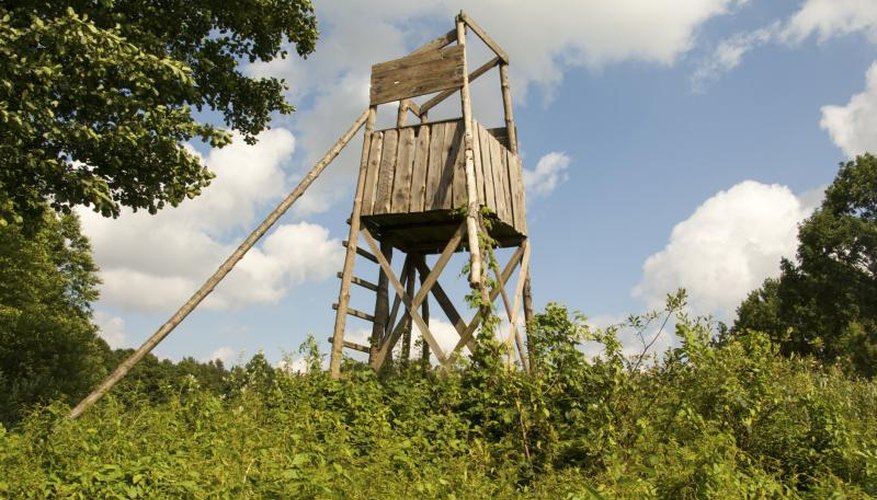


Well-camouflaged deer blinds help you avoid your quarry’s gaze, while waiting comfortably for that big buck to wander into range. You need not be an artist to paint a convincing camouflage pattern on your blind, as stencils can help you recreate realistic patterns. By painting your blind in colors that match those of the surrounding habitat, and using stripes and blotches to break up the blind’s outline, you are sure to see and harvest more deer during the next hunting season.
Painting Preparation
Before painting your blind, you must prepare the exterior surfaces so that they will accept the paint. Sand the wood lightly and then wipe it off with a damp cloth to remove all dust or debris. Apply an exterior-grade, waterproof primer next. Either use a primer in an appropriate color or apply an appropriately colored base coat on top of the primer, once it dries. Whether you paint your blind at home or in the field, the paint fumes will linger for some time, so paint your blind well in advance of the open season in a well-ventilated area.
Camouflage Colors
Decide on a palette of several different colors to use for the blind. Select flat, rather than glossy or semi-glossy varieties to avoid producing a glare on the blind. Purchase colors that match the overall shade of the habitat; for example, use dark tones for blinds located under the canopies of dimly lit oak forests, but use lighter blues and greens for blinds in open habitats to avoid creating a dark silhouette against the sky. For complete overkill, collect a few pieces of the most common bark or vegetation in the area, and have a paint store match the colors exactly.
Appropriate Patterns
Once you have painted the entire structure one of the palest, but habitat appropriate colors in your chosen palette, begin adding darker stripes and blotches to break up the blind’s outline. You can use commercial stencil kits to paint realistic-looking pattern elements on your blind, but if you do so, select habitat-appropriate shapes for the best results. Grass-like patterns are appropriate for fields, swamps and other open habitats, while broad-leaf shapes are ideal for blinds placed in forests. Alternatively, you can use real leaves or branches as a stencil by holding them against the surface and painting over them.
Above and Beyond
Consider using a few textured paints.Light will bounce off the different textures in different ways, as in nature, helping to break up the blind’s outline even more. Regardless of which paints you use, apply a final coat of flat-finish water sealant to protect the paint and wood from the elements. Do not forget to paint any internal surfaces visible through the blind windows. Additionally, by placing your blind in a naturally concealed location, you can minimize the visibility of the blind.