

If you have a 10-speed bicycle, chances are it is several years, if not decades, old. They don't make many 10-speed bikes anymore, but you can still get tires for them. If you have a 10-speed bike tire that needs to be changed, the method remains the same as any other modern bike. The only difference may be that the axle has a nut retainer instead of a quick-release like modern bikes. In a few minutes, almost anyone can change the rear tire on a 10-speed bike.
Items you will need
Adjustable wrench
2 tire levers
Baby powder
Floor pump
New tube
New tire
Shift the bike into the smallest gear on the front and on the back. Release the brake caliper on the back wheel by squeezing together the caliper with your fingers. The brake caliper is right above the wheel. It has a cable going into it. The bottom of the caliper has the brake pads on it. When the cable becomes loose from the pressure, pop the end of the cable free from the wire keeper. The end of the cable should look like a small bullet, and when it comes loose, the brake is disconnected. Flip over the bike and balance it on its handlebars and seat.
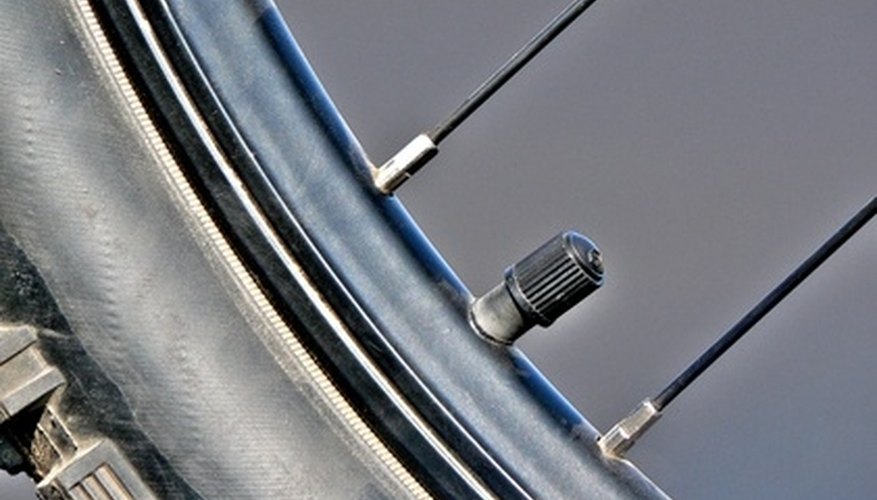
Turn the large axle retaining nut --- the large nut holding the wheel on the bike --- counterclockwise on the wheel axle with the adjustable wrench until the nut is loose. If your bike does not have a nut, then push down the large quick-release lever on the side of the wheel.
Pull straight up on the wheel. As it comes out, it will pull the chain with it. Take the chain in your fingers and pull it away from the gears as you continue to lift the wheel free from the bike.
Insert one of the tire levers between the tire and the wheel, forcing it if you have to. When the end of the tire lever penetrates into the wheel, pry down on the tire lever and hook the end of the tire lever behind one of the spokes.
Insert the other tire lever beside the first one. Begin forcing the tire lever away from the first tire lever. It should slide along the edge of the tire as it forces the tire away from the rim. Slide the lever all the way around until one side of the tire pops free of the rim. Grab the tire with your hand and pull it completely off the rim.
Hold the new tire against the rim. Using both hands, begin pressing the edge of the tire over the rim on one side. Go all the way around until one side of the tire is inside the rim. Sprinkle some baby powder into the new tire.
Blow a small amount of air into the new tube with the floor pump until the tube gets its round shape. Stuff the new tube into the tire, making sure the valve stem goes through the valve stem hole in the rim.
Grab the wheel with both hands and begin pushing against the tire with your thumbs. As the rim of the tire goes inside the rim of the wheel, work your thumbs all the way around the circle until the tire is completely inside the rim. Using the floor pump, pump up the tire to its recommended pressure, which is marked on the side of the tire.
Pull up on the bike chain with your fingers. Insert the wheel under the chain and drop the wheel back into the bike's receiving axle divots. Turn the pedals a few times with your hands to let the chain get back on the gears.
Tighten the axle nut, or push the quick-release lever back up depending on which you have on your bike. Turn the bike back over onto its wheels. Pull the brake caliper together with your fingers and hook the bullet-shaped end back into the receiver. Test the brakes by pulling on the brake lever and watching the brake pads move to make sure you have the brakes hooked up correctly.
References
Writer Bio
Specializing in hardwood furniture, trim carpentry, cabinets, home improvement and architectural millwork, Wade Shaddy has worked in homebuilding since 1972. Shaddy has also worked as a newspaper reporter and writer, and as a contributing writer for Bicycling Magazine. Shaddy began publishing in various magazines in 1992, and published a novel, “Dark Canyon,” in 2008.