
Many people enjoy getting to the outdoors in an RV. One of the reasons they choose an RV is the convenience of having a toilet wherever they go. Most RV toilets will give you years of trouble-free service. As with any equipment, however, sometimes the toilets break and need to be replaced. There is no reason why you can't replace your RV toilet and get back to a happy camping experience.
Items you will need
Adjustable wrench
Socket wrench
Towel
Spray lubricant
Remove the toilet
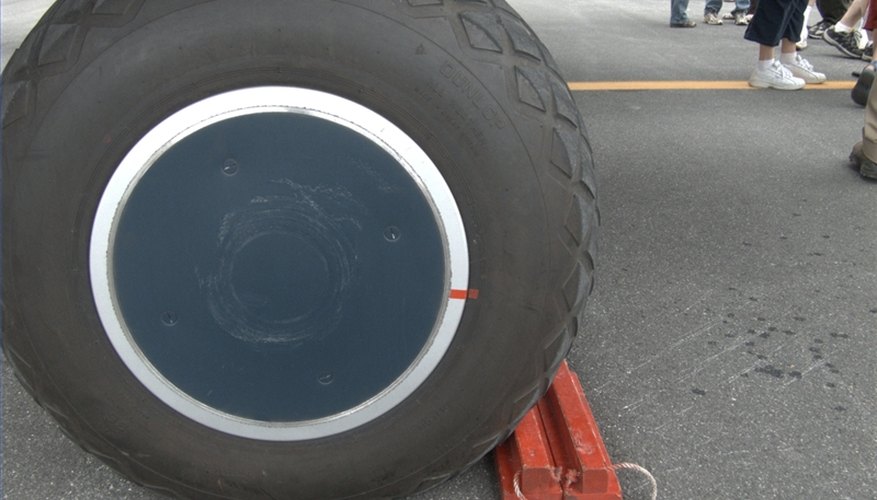
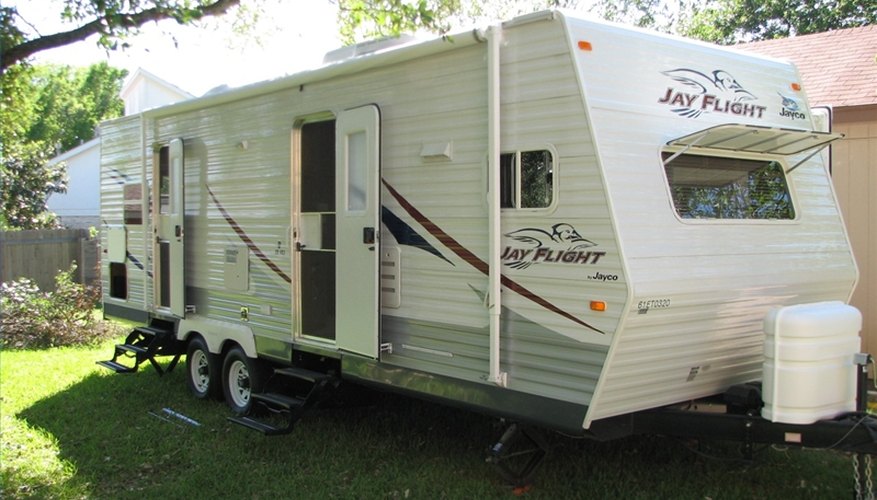
Chock the wheels to keep the RV from moving
Park your RV on a flat location and chock the wheels. Empty the holding tank and clean it with fresh water. You want to make sure that no waste from the holding tank enters your RV and holding tank odors are kept to a minimum.
Cut off power to the water pump in your RV. That is needed to avoid accidental pumping of water while the toilet is being removed.
Look at the base of the RV toilet. You will see a plastic cover. Lift that cover and expose the bolts that hold the toilet in place. Place a towel around the toilet to catch any water.
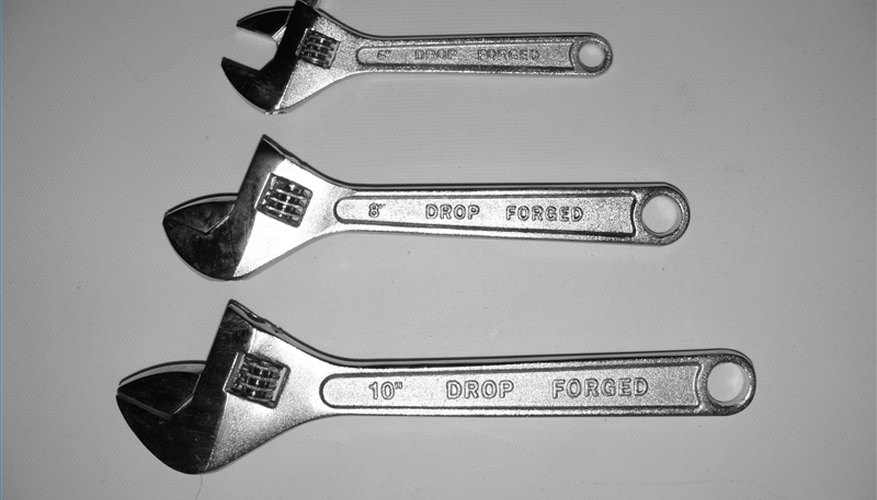
An adjustable wrench or socket wrench will work
Remove the nuts from the bolts that extend up through the base of the toilet. If those bolts are rusted, spray penetrating oil on them and wait for a few minutes. They should then unscrew easily.
Reach around to the back of the toilet. Turn off the water-supply valve (if there is one). Remove the water hose that connects the toilet to the RV water system.
Lift up on the toilet to remove it. If it sticks, gently tilt it back and forth until it works free from the floor of the RV. Once the old toilet is out of the RV, you can install the new one by reversing these steps.
Dispose of the broken toilet appropriately; most municipal waste companies have special procedures for disposing of toilets and other household fixtures. Don't simply throw the toilet in a campground dumpster.
References
Writer Bio
This article was written by the CareerTrend team, copy edited and fact checked through a multi-point auditing system, in efforts to ensure our readers only receive the best information. To submit your questions or ideas, or to simply learn more about CareerTrend, contact us [here](http://careertrend.com/about-us).