

Ruger introduced the Mini-14, chambered for .223 Remington, in 1974. Ruger produces several models of the rifle, ranging from a Ranch model with wood stock and integrated scope rings, to a Tactical model with a polymer stock and Picatinny accessory rails. The Mini-14 is a gas-operated semi-automatic rifle. A port bleeds gas from the barrel, moving an operating rod which in turn cycles the bolt to eject the spent round and load a fresh one from the magazine.
Items you will need
5/64-inch hex wrench
Adjusting Windage
Loosen the windage set screw on the side in the direction of your adjustment. The screw can be turned with a 5/64-inch hex wrench. Small adjustments are recommended. One entire turn of the set screw moves the point of impact 5 inches at 100 yards.
Tighten the windage set screw on the opposite side of the rifle. This tightens the sight up against the set screw on the other side.
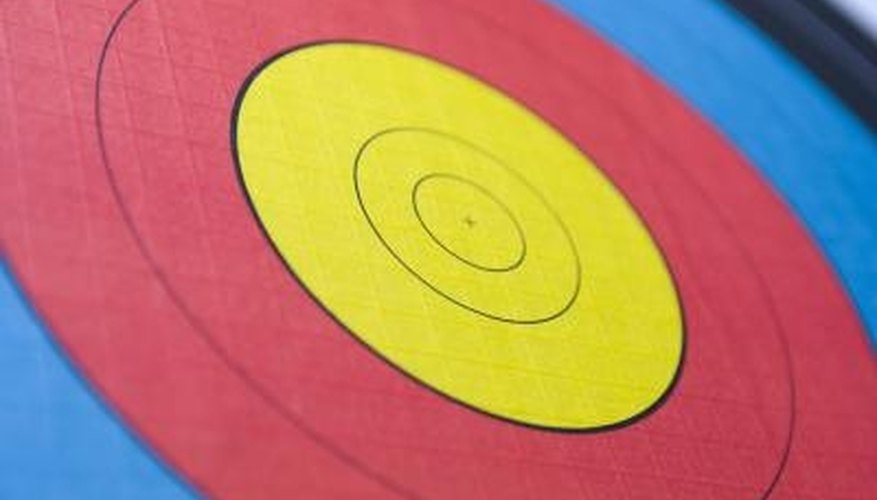
Test the adjustment. Fire a test round at a target 100 yards distant and note the point of impact. Adjust the windage further until the point of aim meets the point of impact.
Adjusting Elevation
Loosen one of the windage set screws. Leave the other set screw in place to maintain the windage adjustment.
Adjust the elevation. Rotate the rear sight aperture clockwise (down) or counterclockwise (up) to move the point of impact down or up. Half turns move the point of impact 1.25 inches at 100 yards.
Use the 5/64-inch hex wrench to tighten the set screw originally loosened in step 1.
Test the adjustment. At a target set at 100 yards, aim and fire a test round. Note the point of impact. Adjust the elevation as needed until the point of aim matches the desired point of impact.
References
Writer Bio
Chris Orr began his career in 1988 as a sports writer. His work has appeared in "USD Vista," "UNLV Rebel Yell" and the "East Honolulu Newspaper" among other publications. Orr has a Bachelor Arts from the University of San Diego and a Master of Arts from the University of Hawaii in political science. He has worked in information technology since 1995.