
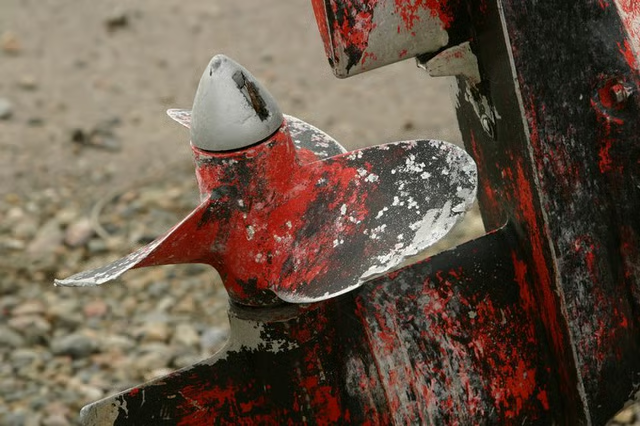
Propellers have a habit of getting knocked out of pitch -- all it takes is skimming a reef or boating over a submerged log. Unfortunately, even a slight pitch misalignment results in reduced fuel efficiency and engine performance. You can't easily determine improper pitch by eye, which is why boat mechanics use a pitch block, a cast that lines up with propeller blades to ascertain whether they are aligned properly. Repairing your own propeller is not recommended, but you can make your own pitch block to figure out whether it needs repairing.
Items you will need
1 propeller
1 propeller shaft
2 3/4-inch by 12-inch by 12-inch pieces of plywood
4 1/4-inch by 1 1/4-inch by 10-inch battens
Drill
10 wood screws
1 nail
1 hanger
1 4-inch by 12-inch piece of corrugated cardboard (one side should be shellac smooth so it avoids absorbing moisture from the plaster)
5 pounds molding plaster or plaster of Paris
Spoon
Build the Stand
Step 1
Measure the width of the bearing end of your propeller shaft. Measure the width of the bearing area on the shaft just ahead of the propeller. Record these measurements
Step 2
Drill a hole in the center of one piece of 3/4-inch plywood the size of the first measurement. Drill a hole in the center of the second piece of 3/4-inch plywood the size of the second measurement.
Step 3
Seat the shaft in the first piece of plywood to become the base. Place the other piece of plywood over the top of it and hold it in place. Position the propeller on the shaft as far as possible. Raise the upper piece to lift the prop off the shaft's shoulder.
Step 4
Place the supporting piece of wood into the corner, between the base and upper pieces of plywood. Screw it in place. Repeat this step for the other three supports.
Secure the Propeller
Step 1
Draw an outline of one propeller blade on top of the plywood piece to position the three anchor screws that will secure the propeller form to the plywood.
Step 2
Drive two screws into the top plywood board, one on either side of a blade that is not being used to cast the mold. This approach will work for propellers that do not have slots. For propellers that have slots, or notches, drive a screw into the board in a location that keeps the propeller from turning while you are making the mold.
Step 3
Hold the cardboard, smooth side in, and position it so one end hugs the hub of the prop. Drive a nail through the second last corrugation into the plywood at the hub end. Drill another hole in the plywood next to the opposite, wide end of the cardboard.
Step 4
Untwist a coat hanger. Pass the hanger through the wide end of the cardboard and the hole in the plywood. Bend it to a right angle and wrap it around the propeller shaft.
Cast the Mold
Step 1
Mix the plaster. Tip the unit on its side with its opening on top. Ladle the plaster into the opening with a spoon.
Step 2
Stir the plaster regularly while pouring it into the hole to avoid air pockets from forming. Once the hole is filled, hold the unit in this position until the plaster sets.
Step 3
Stand the unit upright. Remove the cardboard. Pry the propeller from the base.