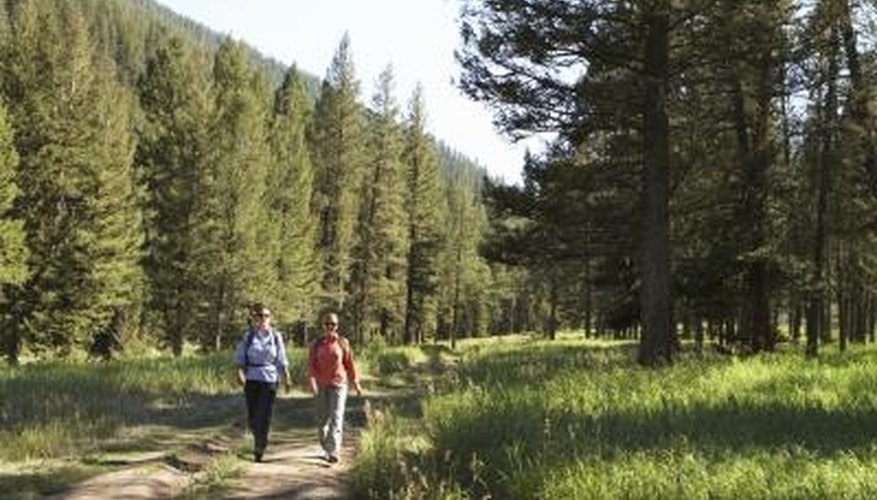


Taking a stroll through the woods relaxes many and gives a needed connection with nature. Trails and paths allow you to take these strolls without having to bushwhack your way through thorny plants and brush. Making a path through the woods takes a bit of planning. Waterways such as creeks and streams, and vegetation should be taken into consideration, as well as finding a trail where the path would require the least maintenance.
Items you will need
Pruning saws and clippers
Hoes
Rakes
Shovels
Work gloves, work clothes
Chain saw (optional)
Walk the intended route several times. If at all possible, have a group of friends walk it with you to help tramp down the vegetation and get a visual on the intended route. Keep the path at least 10 to 20 feet away from the edges of streams and creeks as soils erode over time and the path could "fall" into the water. Keep the route going through areas that have the fewest overhanging branches and limbs. These areas will require yearly maintenance as the limbs grow back.
Rake out the trail once you and friends have walked it several times. As a rule, try to keep the trail not more than three to four feet wide. Pick up larger rocks, limbs, logs and trail impediments and toss them off to the side in the woods. Save branches or limbs that are at least two inches in diameter and set them in one area. Use these to "corduroy" wet areas of the trail such as water run-offs or excessively muddy regions. Corduroy these sections by cutting the limbs into two feet lengths and placing them next to each other, perpendicular to the trail, on the ground. This allows you to walk through the muddy sections on the limbs instead of the mud, preventing further erosion.
Prune the overhanging limbs and boughs along the route, haul them out and place them in a burn pile in a safe and permitted burn pit. Shovel out large rocks and push them off the trail.
Check the slope of the trail using the clinometer. Try to keep the angle not higher than five or six degrees for simple pathways. If you have a hill or slope, determine your fall-line. This is the line water will naturally run down the slope. Keep the trail off the fall line. Determine the fall line by checking for erosion gullies and run-off zones. Angle the trail at 45 degrees to the fall-line so the water does not run down the center of the trail, eroding it.
Walk the constructed path several times with friends to tamp down the soils and make the path firm and hard.
References
Writer Bio
A former Alaskan of 20 years, Eric Cedric now resides in California. He's published in "Outside" and "Backpacker" and has written a book on life in small-town Alaska, "North by Southeast." Cedric was a professional mountain guide and backcountry expedition leader for 18 years. He worked in Russia, Iceland, Greece, Turkey and Belize. Cedric attended Syracuse University and is a private pilot.