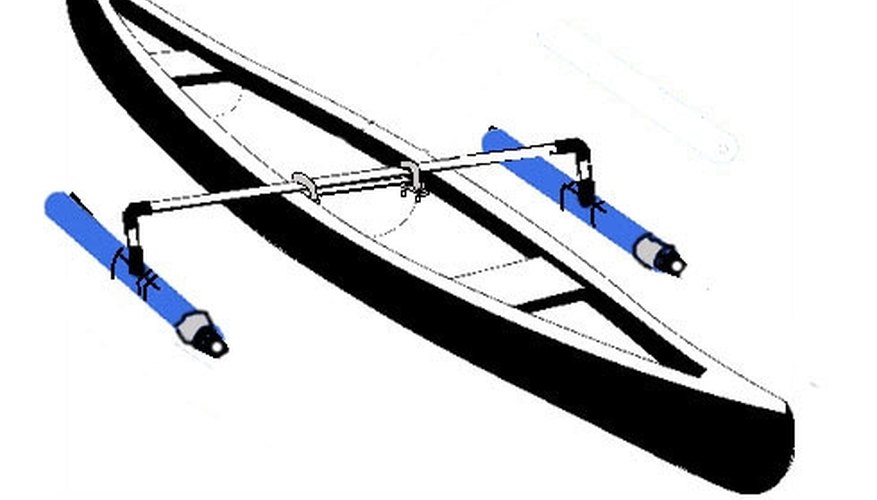


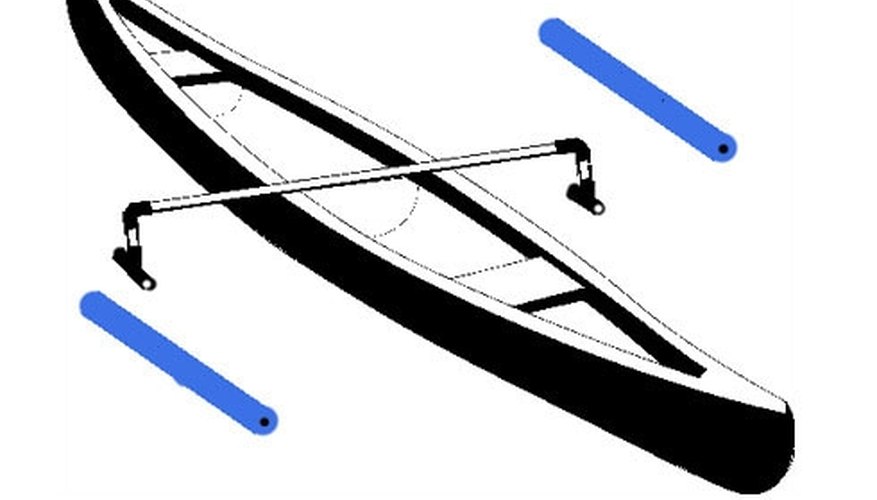
A canoe can be an unstable platform for fishing, diving or any activity that involves moving around, standing or getting into and out of the canoe in deep water. One easy solution, first invented by the Polynesians for their sea canoes, is the outrigger, or canoe stabilizer. There are a lot of commercial outriggers available, but they can be relatively expensive if you only use them once or twice a year. Here's an easy-to-make alternative for a homemade canoe stabilizer. It's not pretty, but it's effective.
How to Build Canoe Stabilizers
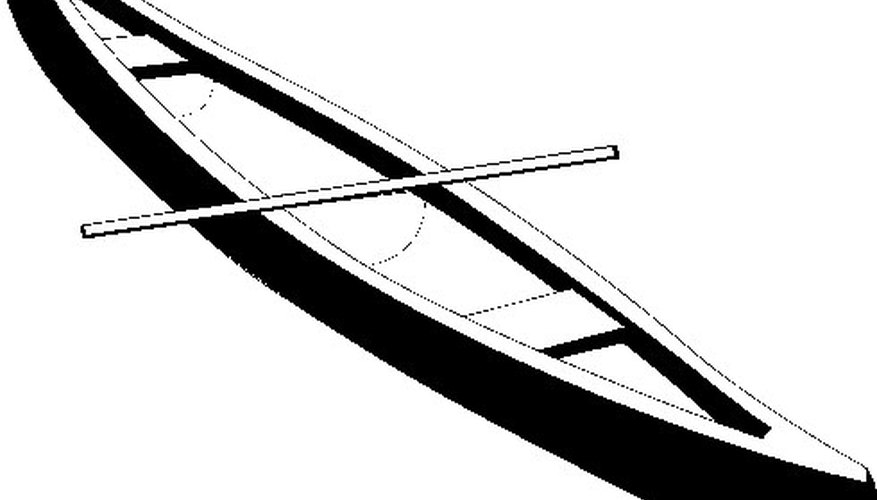
Begin by cutting the outrigger cross member.
You'll need 12 feet of 1-inch PVC pipe. Measure and cut the pipe to extend 12 to 18 inches wider than your canoe's widest point on both sides. If the canoe is 20 inches wide, add 24 to 35 inches for a total of 44 to 55 inches. Shorter outriggers will provide less stability, but will be stronger and flex less.
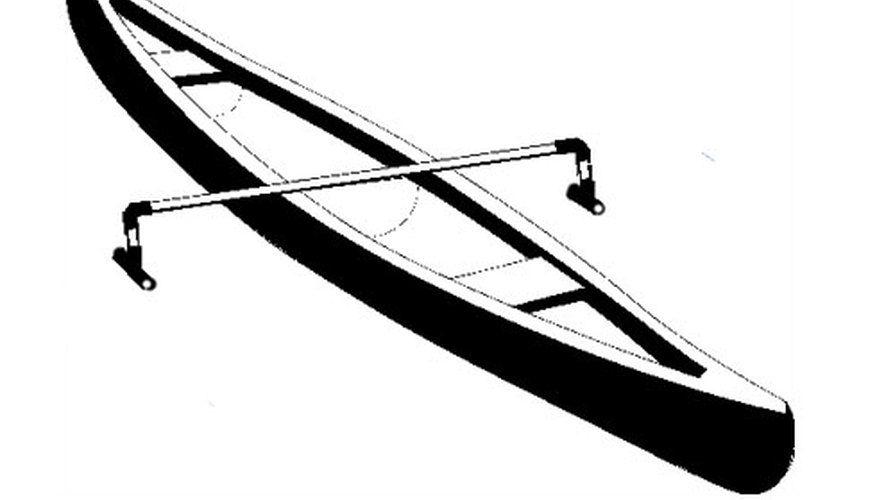
Attach Elbows

Attach two 90-degree, 1-inch PVC elbows to the ends of the pipe, facing downward. Clean the ends of the pipe and the inside of the elbows with PVC cleaner, then apply glue generously to both and push them together. The cement will set in a few minutes.
Add Extensions

Cut two 4-to-6 inch long pieces of PVC pipe and glue them to the elbows, pointing downward.
Adding the "T's"
Glue two PVC "T'" pipe joints perpendicular to the pipe so their openings will run parallel to the sides of the canoe.
Prepare Styrofoam Noodles
Cut two 24-to-27 inch long pieces of Styrofoam swim noodle. Use the kind with the hole down the center. Put a lengthwise slit in the center of each noodle, halfway through to the center hole for inserting the pipes into the "T's."
Building the "T"

Cut four 12-to-14 inch long segments of 1-inch PVC pipe. Clean and glue two segments into the rear facing openings of the "T's." Allow to set. Clean the other open end of the "T" and one end of the remaining pipe segments.
Insert the "T" Halves
Push the segments of pipe you just glued into the center slit of the Styrofoam noodles and push the pipe forward through the hole in the middle of the noodle till it pokes out the end. Push the "T" down into the slit.
Completing the "T"
Push the remaining segments of 1-inch PVC pipe into the other end of the noodle till they reach the "T." Force open the slit and apply glue to the joint and pipe end. Push together and allow to sit.
Secure the Noodles

Apply zip ties firmly around the noodles on either side of the "T' joint to hold them in place.
Streamline the Outrigger

Cut the bottom out of two 12 oz. water or soda bottles, remove the labels and screw them onto the forward end of the outrigger noodles. Duct tape the bottle in place.
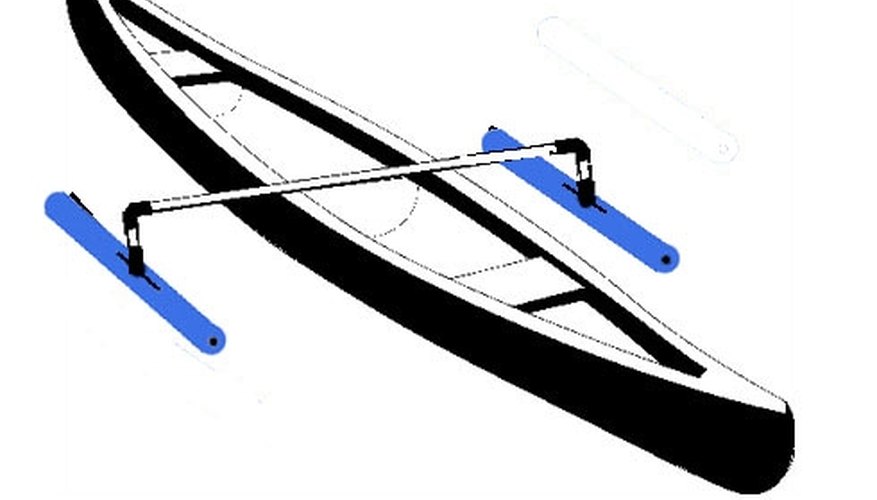
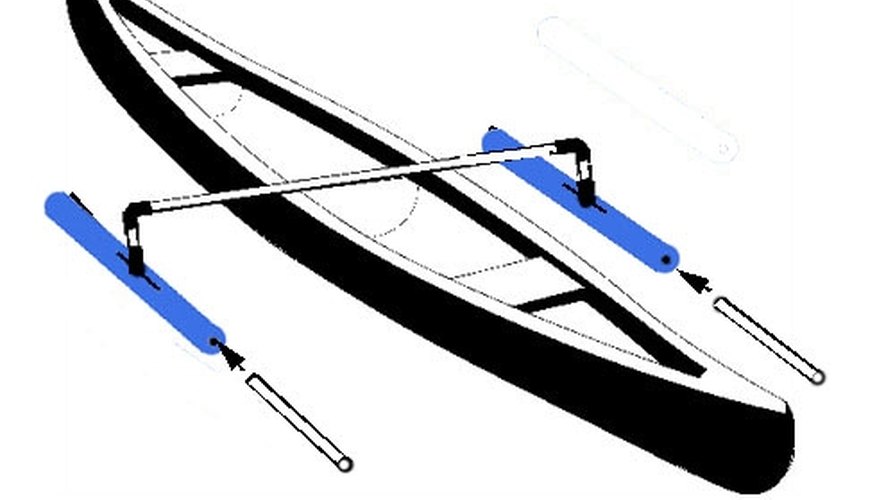
Attach the Outrigger

U-bolt, clamp or zip tie the outrigger/stabilizer to one of the thwarts (horizontal cross beams) and you're ready to go with your homemade canoe outrigger.
References
Writer Bio
Tom King published his first paid story in 1976. His book, "Going for the Green: An Insider's Guide to Raising Money With Charity Golf," was published in 2008. He received gold awards for screenwriting at the 1994 Worldfest Charleston and 1995 Worldfest Houston International Film Festivals. King holds a Bachelor of Arts in communications from Southwestern Adventist College.