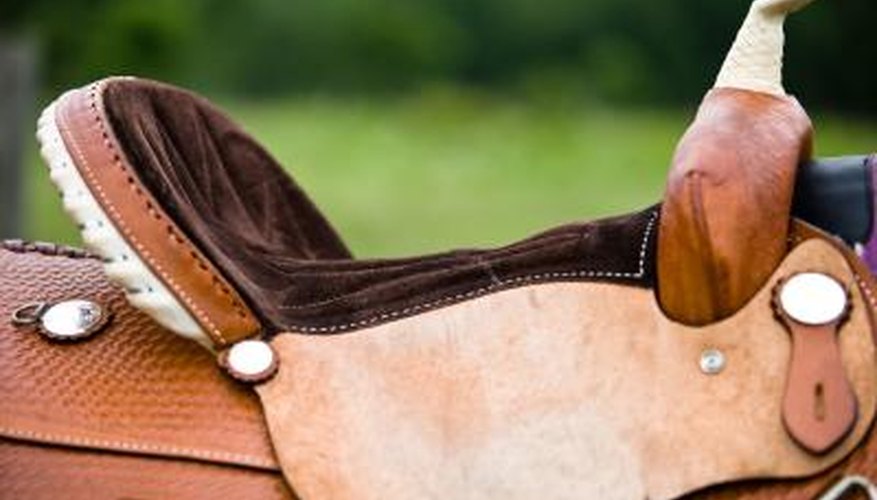


The leather on your western pleasure saddle horn or working saddle horn is going to wear some over time. In some instances, a small tear is fixed using quick-drying glue. Larger tears where the leather is worn through cannot be glued. Stitching and tooled leather on a saddle horn should be repaired by a saddle maker for consistency in the saddle design. You can fix the leather on your saddle horn using basic leather tools and techniques.
Items you will need
Cowhide leather
Leather cement
Razor knife
Fine sandpaper
1/4-inch cotton rope
Masking tape
Step 1
Measure the diameter of the top of your saddle horn. Measure the height of the stem from the underside of the horn to the point where the stem meets the top of the pommel. Take the measurements to a leather supplier or saddle repair shop.
Step 2
Select a color or tone of cowhide leather that matches the texture of your leather saddle. Ask the supplier to cut a piece of the cowhide that covers the top of the horn and extends down on all sides, two inches below the top of the pommel.
Step 3
Put the saddle on a saddle stand or steady worktable.
Step 4
Using a sharp razor knife, cut the original leather covering around the base of the stem, 1/4-inch above the top of the pommel. Make four evenly spaced vertical cuts on the stem between your first cut and the underside of the saddle horn.
Step 5
Insert the point of the razor knife between the edges of each cut to separate the edges. Grip the edges one at a time by hand and peel the leather off the stem and the saddle horn.
Step 6
Sand the hard saddle horn and stem by hand using small pieces of fine sandpaper. Sand away any leather cement residue. Finish by sanding the horn and stem so all surfaces are smooth to the touch.
Step 7
Apply a uniform coat of leather cement to the top, edges and underside of the saddle horn. Center the piece of cowhide atop the horn. Wrap the sides of the piece over the edges of the horn and couple the leather tightly around the stem by hand.
Step 8
Secure the coupled sections in place against the stem with tight wraps of 1/4-inch cotton rope. Start the wraps at the base of the stem and continue to the underside of the horn. Secure the cotton rope in place using masking tape.
Step 9
Allow the leather cement to fully cure. Remove the masking tape and wraps of cotton rope. Save the piece of rope.
Step 10
Use the coupled creases in the cowhide as a guide to fit the leather to the stem. Cut away the excess sections of leather, making vertical cuts at the creases with the razor knife. Fit the leather against the stem. Trim it as needed so the edges of each section fit together and form a uniform covering.
Step 11
Lift the individual pieces away from the stem and apply leather cement to the stem. Fit the pieces in place against the stem. Secure the pieces with tight wraps of the cotton rope and masking tape as before. Allow the cement to fully cure before removing the wrapping.
Step 12
Trim the lower edges of the leather so they fit uniformly over the original leather at the base of the stem. Apply cement to the original leather and secure the lower edges of the new leather with masking tape. Allow the cement to fully cure before removing the tape.
Writer Bio
William Machin began work in construction at the age of 15, while still in high school. In 35 years, he's gained expertise in all phases of residential construction, retrofit and remodeling. His hobbies include horses, motorcycles, road racing and sport fishing. He studied architecture at Taft Junior College.