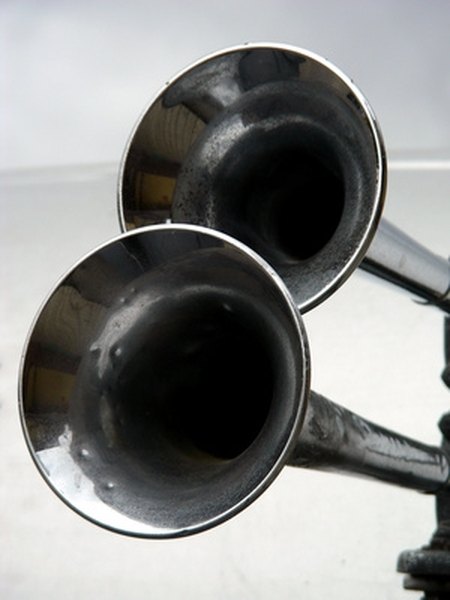
Maintaining and repairing electrical devices on boats requires skills similar to working on automotive electrical equipment. The ability to follow the standard process of elimination for testing low-voltage equipment will be the same. Understanding circuits is helpful but not needed for most simple electrical repairs. Because of exposure to the elements, corrosion and oxidation are usually factors in boat repairs. Long periods of inactivity often contribute to devices such as boat horns malfunctioning.
Items you will need
Screwdriver kit
Voltmeter
Paper tape
Permanent marker
Electrician's pliers
Fine 400-grit sandpaper
Remove the cover from the horn, using the appropriate screwdriver from the kit, and expose the terminals where the wires connect to the horn. Locate the marks on the terminals that are positive and negative.
Mark the wire on the positive terminal by placing paper tape on it and marking it positive, using the permanent marker. Mark the wire on the negative terminal in the same manner and mark it negative.
Remove the positive wire from the terminal by pulling on its spade clip with the electrician's pliers. Remove the negative wire in the same manner. Separate the wires in a manner that the spade tips do not touch each other.
Clamp the red lead from the volt meter on the positive wire spade clip and the black lead on the negative wire spade clip, using the alligator clips that came with the voltmeter. Place the meter in a position where it can be seen from the cockpit.
Go to the cockpit and push the horn button on the boat while watching the meter. Read the voltage shown on the meter; it should be the same as the boat battery voltage.
Clean the positive and negative terminals on the horn, using the sandpaper. Remove the voltmeter alligator clips from the wires and clean their spade clips in the same manner.
Plug the positive wire back onto the horn on the positive terminal and the negative wire onto the negative terminal. Locate the diaphragm adjusting screw on the horn and remove it, using a screwdriver.
Remove the diaphragm from the horn and clean any debris or corrosion from inside the horn housing, using the sandpaper. Replace the diaphragm and tighten the diaphragm adjusting screw snug, but not tight.
Push the horn button in the cockpit and listen to the horn operate. Go to the horn and turn the diaphragm adjusting screw. Repeat this process until the desired sound is achieved. Replace the cover on the horn.
Warnings
- Wear safety glasses when sanding metal.
References
Warnings
- Wear safety glasses when sanding metal.
Writer Bio
David Machado has written technical and home improvement articles since 2008. He received his education in electronics and computer technology from Bell Labs. After retiring from Bell South in 1989, he attended Midlands Technical College. He received his Residential Builders License from the state of South Carolina in 1991.


